Choose and edit your listing photos
Here we will choose the best images and edit them on your phone.
Now that you've taken a variety of photos of your van, it's time to select the best ones for your listing and apply some minor edits to really make your listing pop.
Here are our top tips for choosing and editing photos using the very same phone you took the photos with.
You can edit your photos within your phones image app editor, however alternatively, we also recommend these free apps available for both iPhone and Andriod.
1. Select the best images
Giving hirers the best representation of your van from the get-go is the goal. When someone is searching through multiple vans to book their journey, getting straight to the point without having to scroll through too many images will go a long way towards them choosing your van.
So let's make it easy on them and select the best shots.
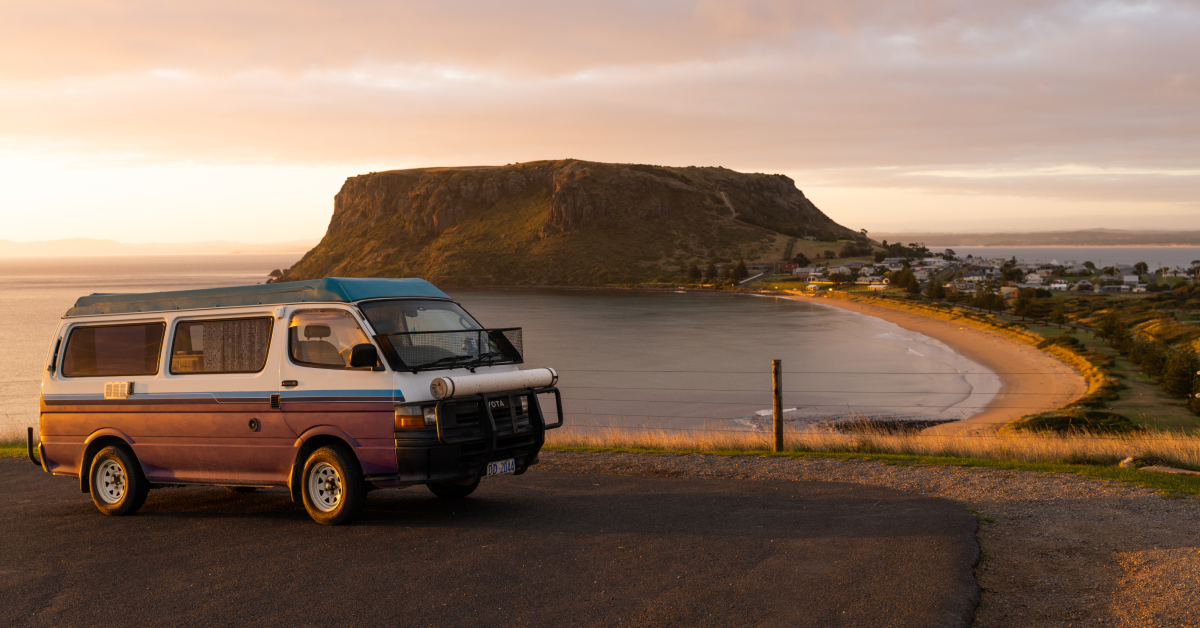
FIRST IMPRESSIONS LAST
The cover photo is displayed in search results and is also the first image you'll see at the top of your listing page. This is the opportunity to show off your van right off the bat.
THE SCROLL
As mentioned in our photography guide, your photos will be displayed within search results and across the top of your listing in a horizontally scrollable format.
We recommend starting with a good clear exterior image that shows your entire van so hirers can see exactly what type of vehicle you offer. You can then build on the story of your van here.
Here is a good example of a good photo layout:
- Photo 1: Your cover photo. Exterior shot that clearly shows the entire vehicle from a ¾ angle
- Photo 2: A shot of the entire interior area of your van that shows most of the space
- Photo 3: If drivable, follow up with a shot of the cabin area and seating allocation
- Photo 4: Exterior living space and any outdoor furnishings you provide with your van.
- Photos 5+: Set your listing apart and add further context by providing additional angles on the above features and shots that highlight the more personal aspects of your van
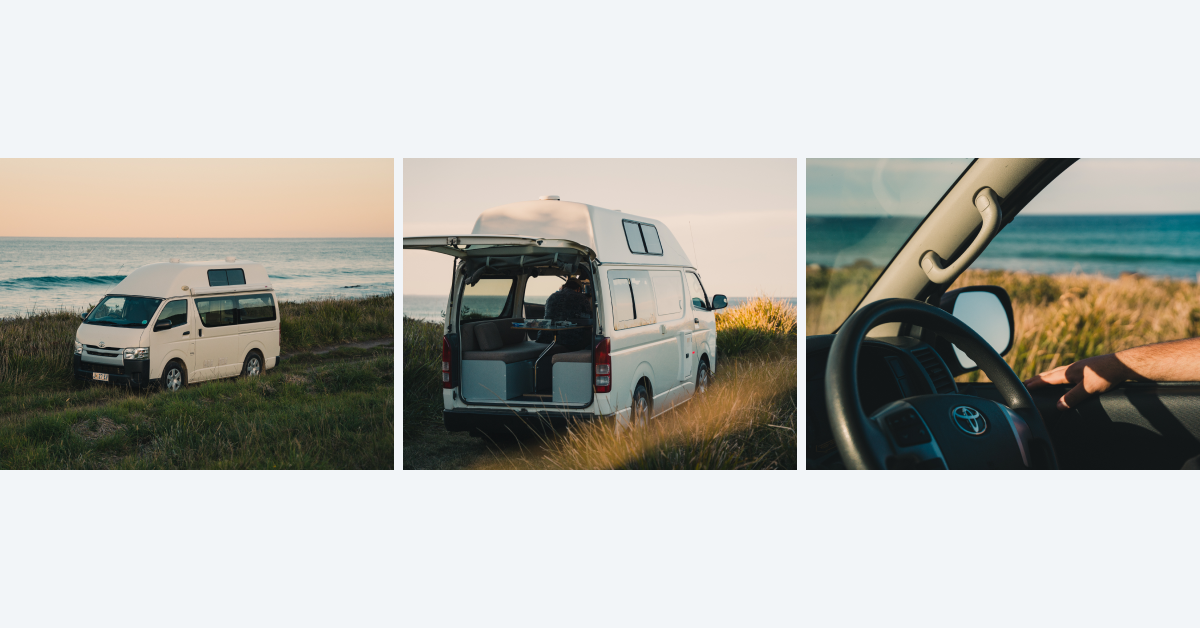
COMPOSITION
As mentioned in our photography guide, include a mix of photo compositions. By providing a variety of wide, medium and close up shots you give any potential hirers a good overview of the size and features your van has to offer.
2. Editing tips
After selecting the images you will use on your listing, let's apply some edits to help them look their best.
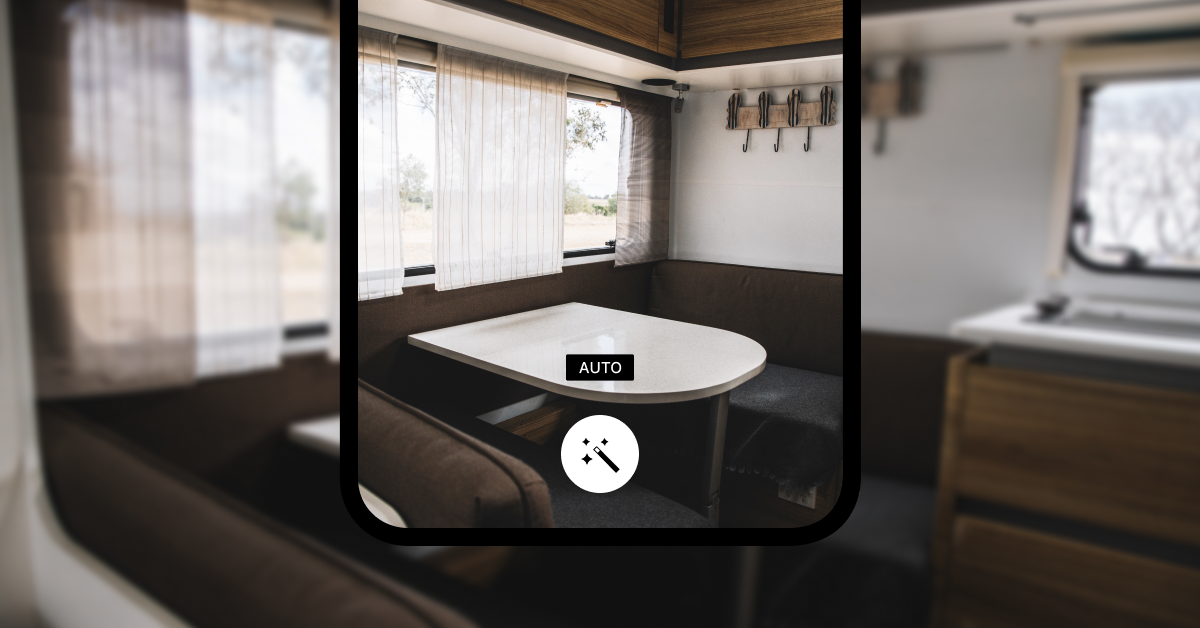
AUTO EDIT/ENHANCE
If you are using an editing app, you will have to import your chosen images when prompted and proceed with editing from there. If you are editing within your phone's inbuilt editor, pick a photo in your camera roll, and select Edit.
One quick option is to make use of an editing app's Auto (or Enhance) feature, from there it will make automatic adjustments to brightness, contrast, and highlights.
This is a great way to get started before making finer adjustments.
WHITE BALANCE
Photography of van interiors tend to be cooler toned due to light reflection from fabrics or the interior lights of the vehicle itself (especially LEDs).
It is important to re-balance the white to the interiors, taking care to make the result look natural. On editing software, the white balance is usually under a category called ‘warmth’ and/or ‘tint’. Try to balance both until any white items in the photo (cabinetry/walls etc.) are actually
white.
KEEP IT REAL
Try to keep the colours in your images as close to natural as possible. We don’t want to over-edit them here.
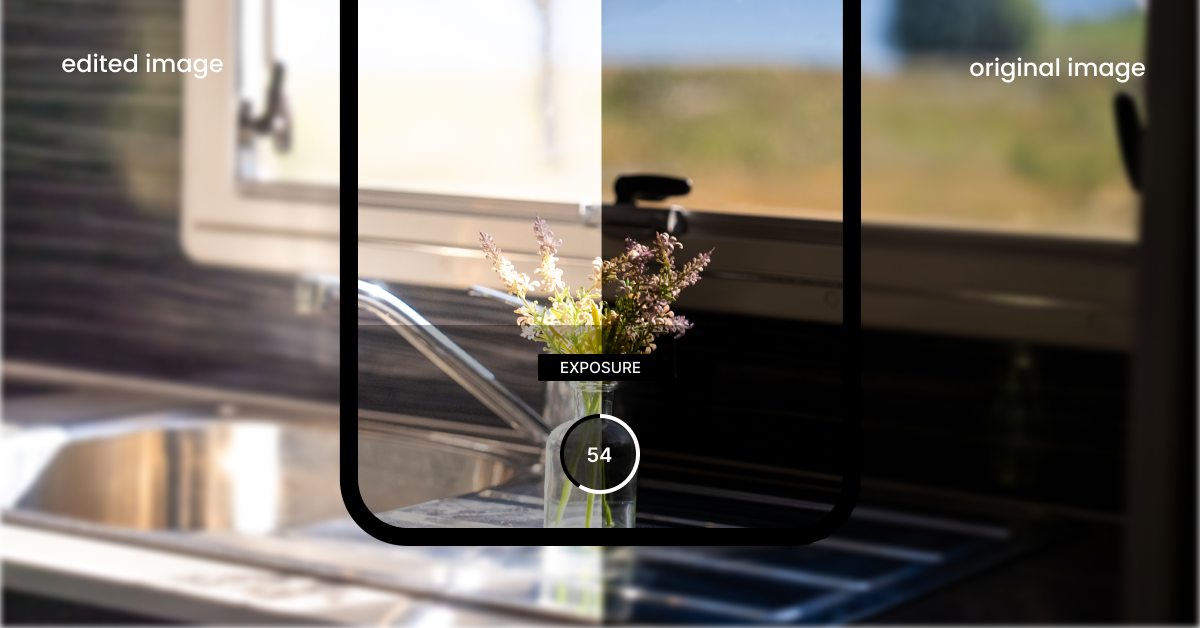
BRIGHTEN IT UP (BUT NOT TOO MUCH)
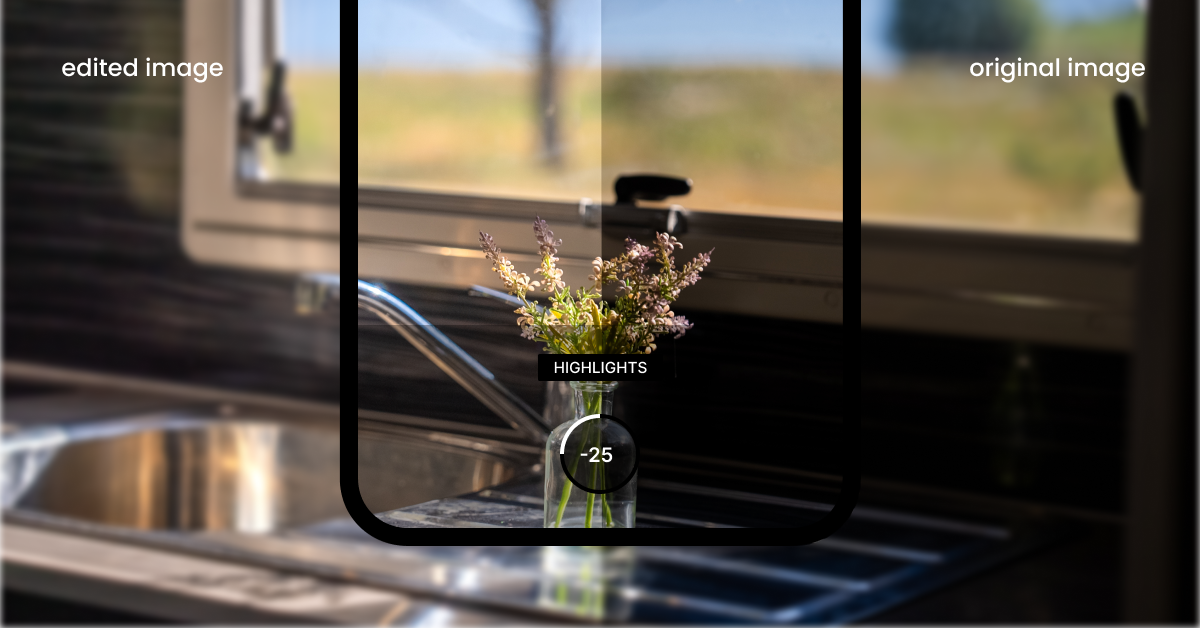
Take a look at the darker sections in the above image. By bringing up the Exposure setting we can brighten the entire image, but under the Shadow setting you can brighten the darker sections of your image on their own. Bringing up the exposure or shadows too much will create a washed-out look so be careful to avoid that. Notice the highlights in the window have now been blown out, we will fix this in the next section.
BRING DOWN THE HIGHLIGHTS (AGAIN, NOT TOO MUCH)
To fix this using the Highlights section we can tone down brighter parts of your image such as windows, lights or reflective surfaces. As above, don’t push this setting too hard, as it will make your image look dull after a certain point.
CROP AND STRAIGHTEN
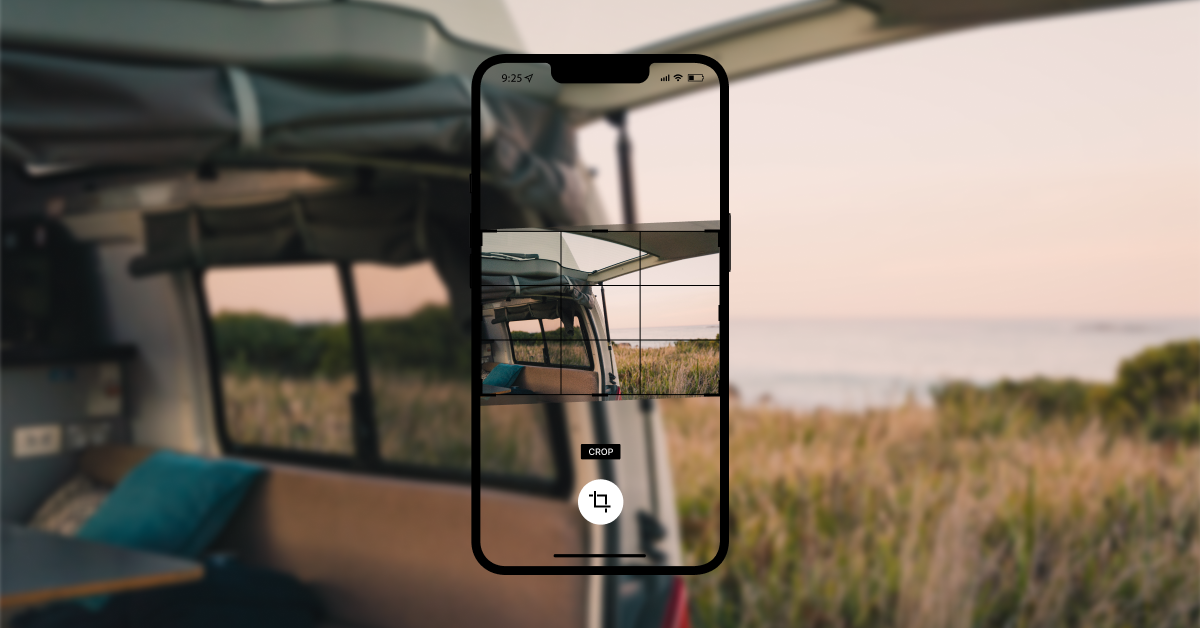
We covered the importance of level images in our photography guide, however, if you find that some images are still a little tilted, we can fix them here.
In the crop section, you can resize the image, crop out anything you don’t want included and straighten up the images all with one tool.
The crop tool will also provide a “rule of thirds” grid to help you adjust your photo so that your lines are as close to vertical and horizontal as possible.
UPDATE YOUR LISTING
Now that you have chosen and edited your photos, it's time to update your listing. You can do this via the desktop or mobile site.
DESKTOP
Firstly you have to transfer any images from your phone to your computer.
Begin by signing into your owner's account and clicking the Listings tab at the top right. To the right of the listing you wish to update click Manage and then click the Photos tab.
Update your cover photo (The first image shown on the search and your listing page) and upload additional photos from here.
Don’t forget to click Save & continue before leaving the site or closing your browser.
MOBILE
Begin by signing into your owner's account and hit the Menu Button in the top right corner, scroll down to the Listings tab and open that.
To the right of the listing you wish to update tap Manage, on the next page tap Manage your van at the top and then the Photos tab.
Update your cover photo (The first image shown on the search and your listing page) and upload additional photos from here.
Don’t forget to click Save & continue before leaving the site or closing your browser app.
Now your listing is updated with your new photos.