Taking attractive listing photos with your phone
Here’s how to get the most out of your camera phone and your van to make your listing attractive to hirers.
Already snapped your new listing photos? Please see our tips on how to edit them and update your listing with our Editing Guide below.
1. Prepare your van
Put yourself in the position of a hirer, what makes a van stand out to you? Not only is it important to look appealing, but you also need hirers to have an accurate understanding of the size of the van and what they can expect when hiring it.
Images of any additional accessories you provide will also help potential hirers to picture themselves on holiday in your van.
FIND A SECLUDED SPOT
Find a place where there is nothing else to distract attention from the vehicle. Placing your van on a level spot is also as important as it would be when using it yourself.
Try to position your van further away from background items (trees etc) to give the photo some depth, this also gives the van prominence in the frame and prevents unwanted shadows from trees or other elements.
UNDERSTANDING THE VAN SIZE & SHAPE
Take a diagonal ¾ photo of the van which shows the entry and shape of the van. Once you have this shot, people can familiarise themselves with the layout and helps them stay oriented when viewing the closer shots.
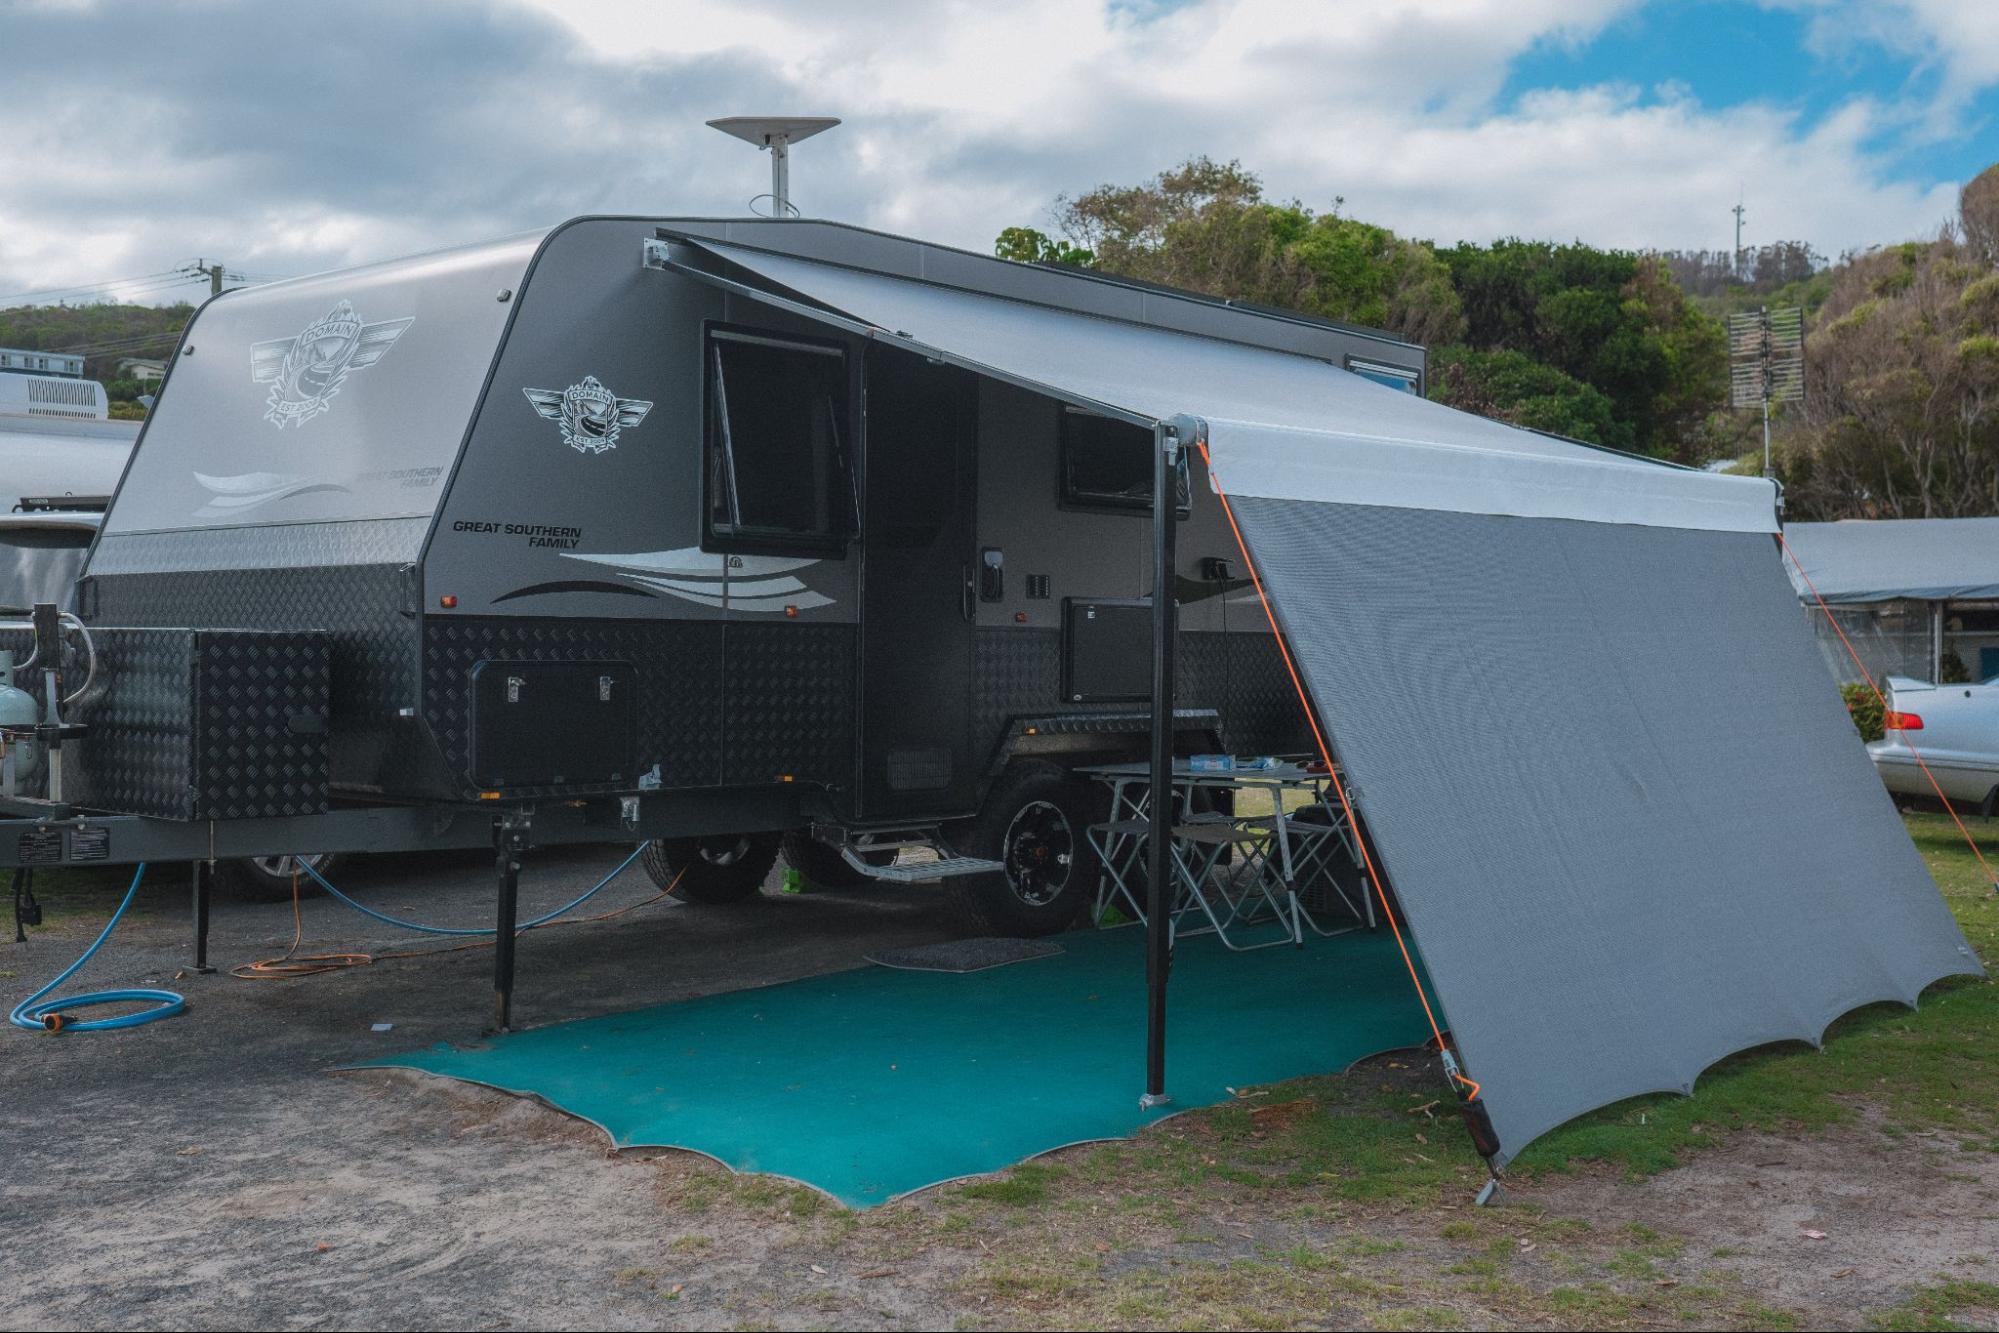
SET IT UP!
To give a potential hirer the best idea of your van, set it up as you would use it yourself. Be sure to get some shots both before and after the awning is assembled. Just be mindful of the darker shadows it may cast over your setup.
While taking photos, it’s important to understand how your listing photos are displayed on Camplify:
- Your first image is your cover photo, the main photo on your listing page and the one that shows up in search results.
- Your photos will be displayed within search results and across the top of your listing in a horizontally scrollable format. Keep this in mind when shooting your images.
- Your image gallery at the bottom of your listing contains all your photos for hirers to browse.
2. Camera Settings
Many phones can take great photos. Here are some helpful features and how to use them.
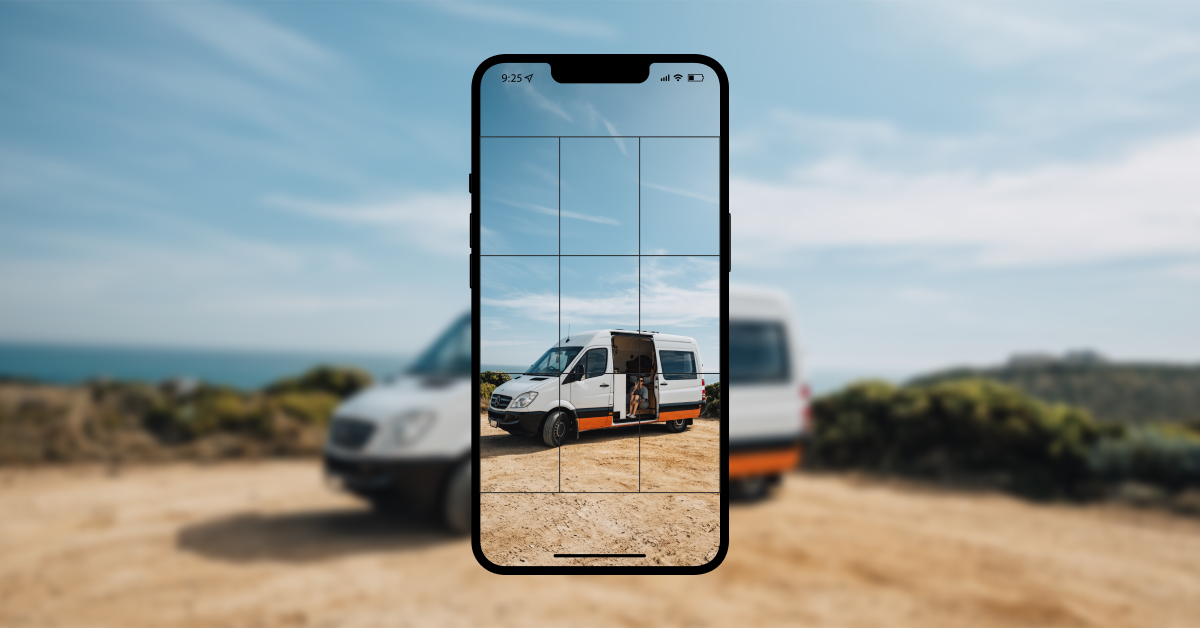
TURN ON GRIDS
Grids can help you frame an image and tell if it's straight. To adjust your grids:
- For iPhone: Go to Settings > Camera and toggle your phone's grid to On
- For Android: Launch the camera app, go to Settings, scroll down and switch the Grid lines option to On.
This will come in handy during our composition tips below
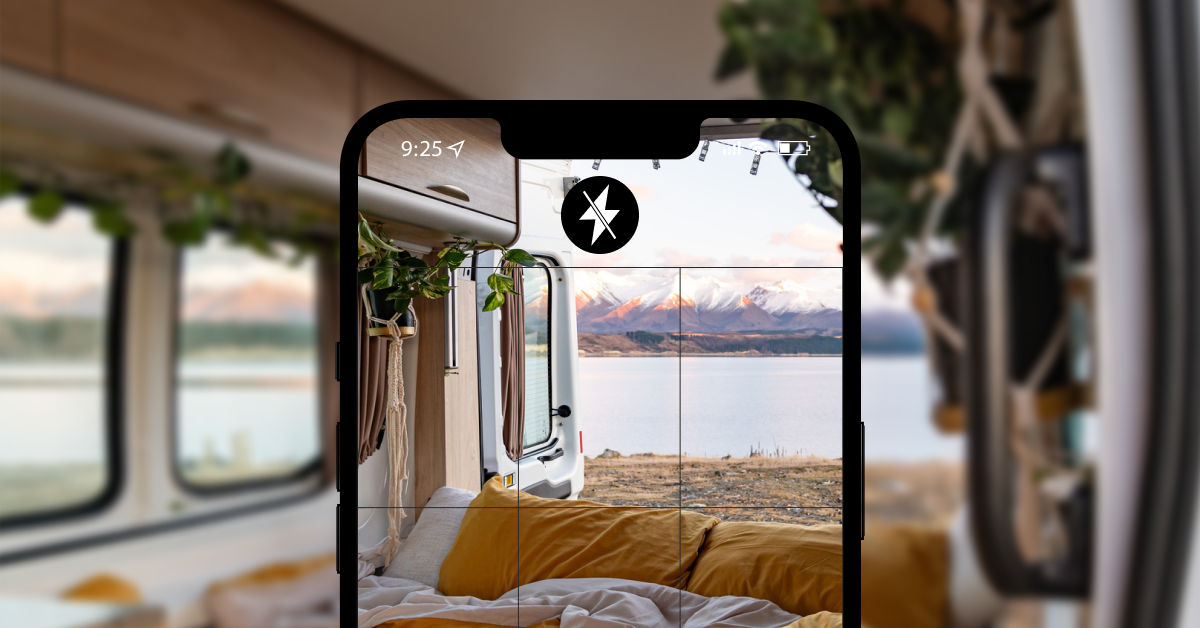
TURN OFF FLASH
Using a flash can create a harsh look. Bright, natural light is ideal so try to position your van with this in mind. For interior shots ensure all available lighting is turned on, even in broad daylight.
To turn off the flash, open your Camera app, find the lightning bolt icon and select Off.
CHECK THE RESOLUTION
The sharpest photos have a resolution of at least 1024 x 683 pixels. Your settings may be optimised to only store low-resolution images, so check that you’re saving high-resolution images for your photo shoot. You can always switch this back after you’ve taken your photos.
3. Composition
Here are some tips for capturing great listing images
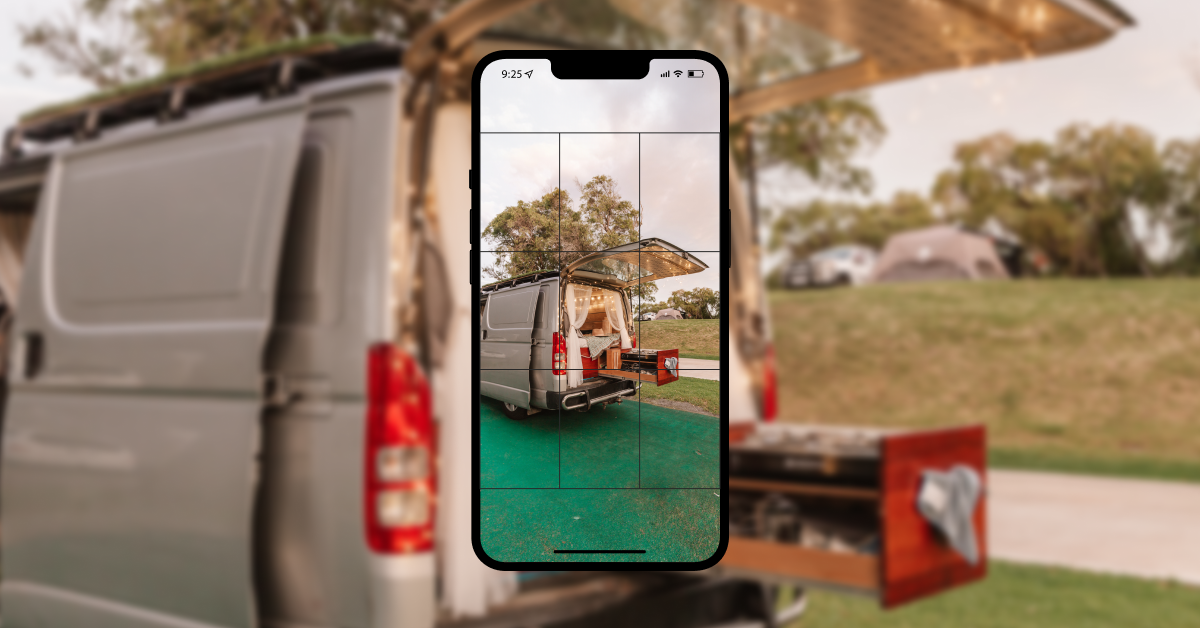
KEEP LINES STRAIGHT
Hold your phone straight and parallel to the ground. Some phones have an inbuilt level setting, if not, align the grid with tables and/or cabinetry (interior) or the roof and edges of your van (exterior) to ensure all shots are consistently level.
Avoid shooting at high or low angles as much as possible.
THE RULE OF THIRDS
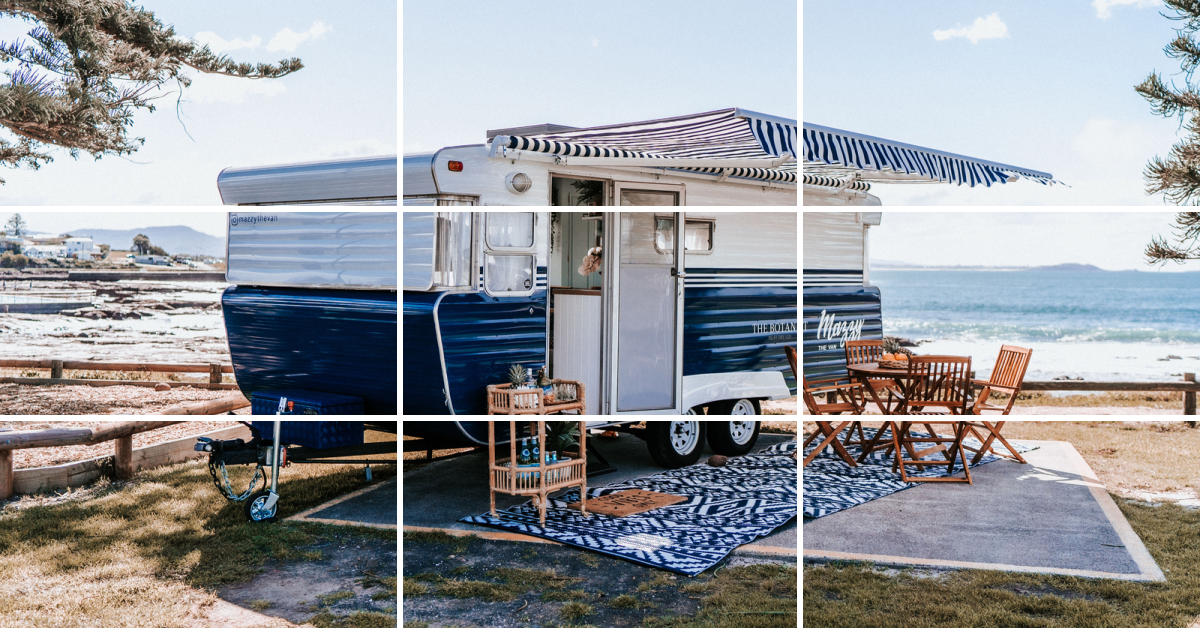
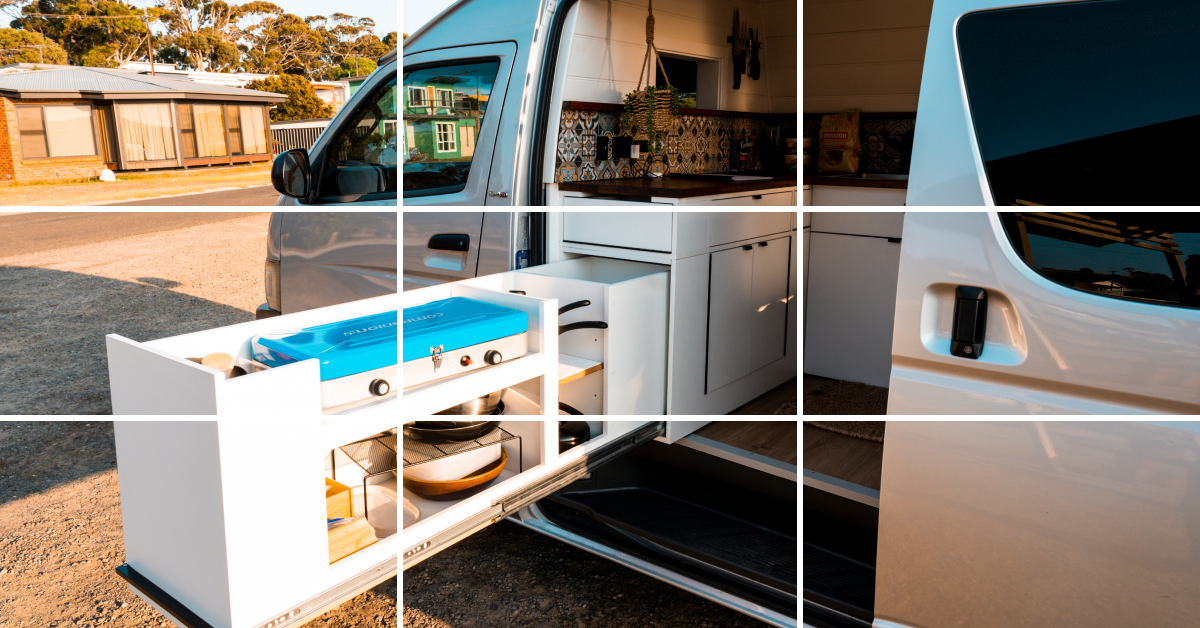
The rule of thirds is a photo composition principle that divides an image into three segments horizontally and vertically. By turning on the grid feature on your phone and using the rule of thirds, you can help ensure your photos are straight and have good composition.
By placing the subject of the image where the grid lines intersect, you can naturally direct a potential hirers eye to the exact point you’re trying to highlight.
Most framing should have the focal point centred, but using the rule of thirds you can frame an object off-centre to highlight two focal points at once.
For example, the following shot brings attention to the camper in the foreground and the view in the background.
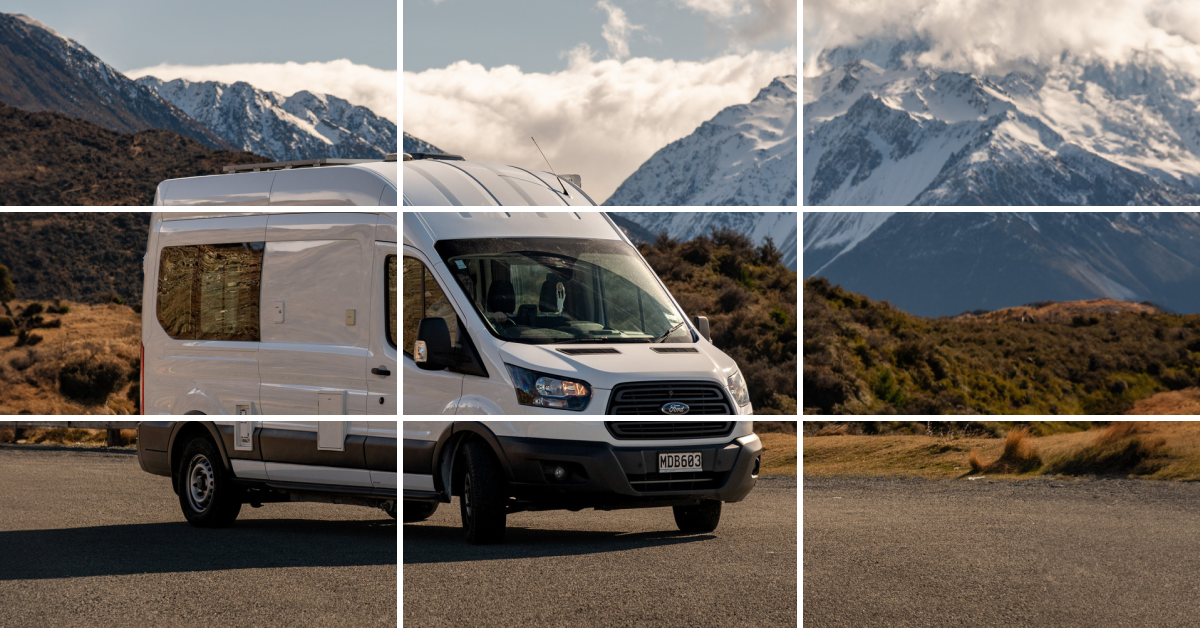
Or this shot that brings attention to the outdoor kitchen on the left and the interior cabinetry on the right.
NO BLURRY IMAGES
Use autofocus so you don’t have to adjust the focus manually.
Take photos with both hands to keep your camera steady and take a clear image. You can also brace your elbows against your ribs to steady your hands.
4. Show off your van's character
Demonstrate how hirers can have an incredible adventure in your van. Tell them a story with your images to inspire them to book with you!
IMPORTANT FEATURES
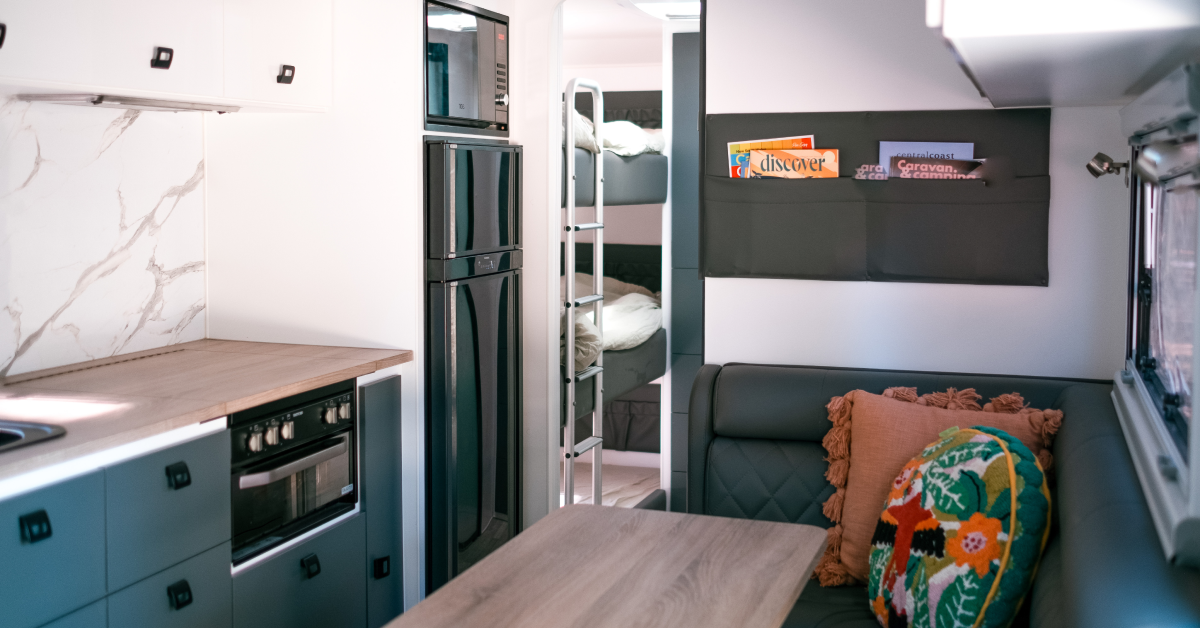
There are thousands of vans on Camplify, but your van is unique to you. To make it stand out in the crowd it’s important to show why that is. Show off your van's character, what features the hirer can expect and what extras you provide.
Focus on the parts of your van that highlight these details best rather than only trying to cover the entire space with a single photo.
Here are some examples of features you might photograph and mention in your captions:
- The cooking equipment
- The dining area
- The sleeping arrangements (bunks, beds, convertible sitting areas etc.)
- Outdoor space under the awning with any provided chairs and tables
- Bathroom/toilet provisions
- Driving features such as reversing camera, audio connectivity (aux/USB/Bluetooth), Apple CarPlay/Android Auto etc.
- Extras such as canoes/kayaks or outdoor BBQs etc.
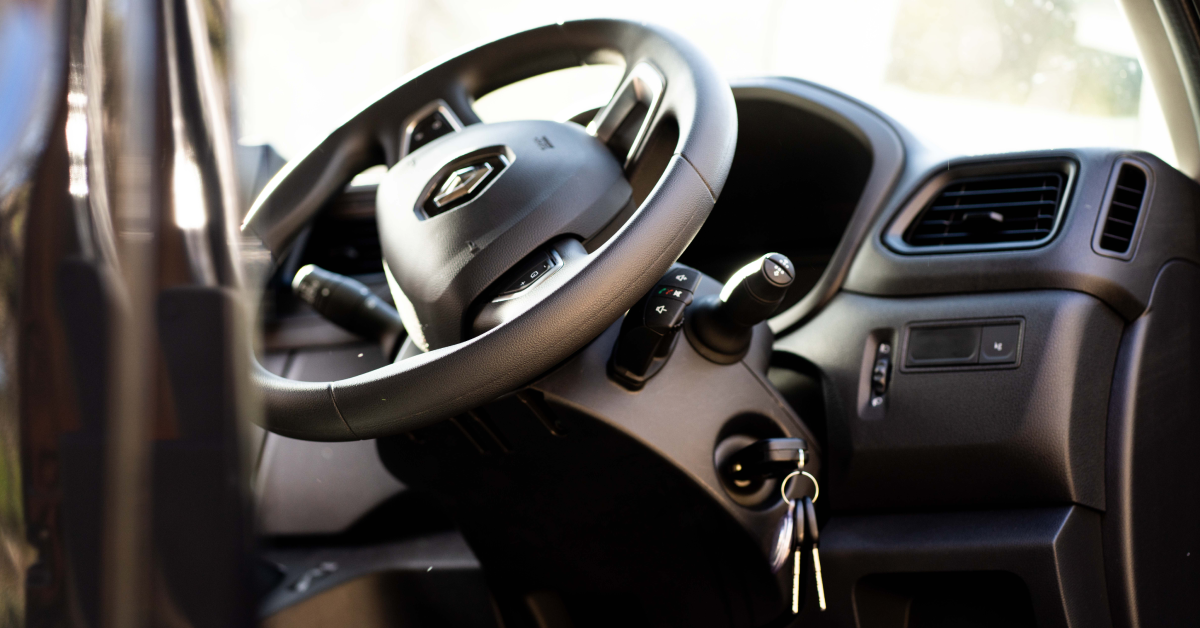
CAMERA ORIENTATION
Keep in mind how these images will look on our website as you shoot. For example, a horizontal image will display best in the grid on the search page, so make sure you have a few really beautiful images in horizontal orientation.
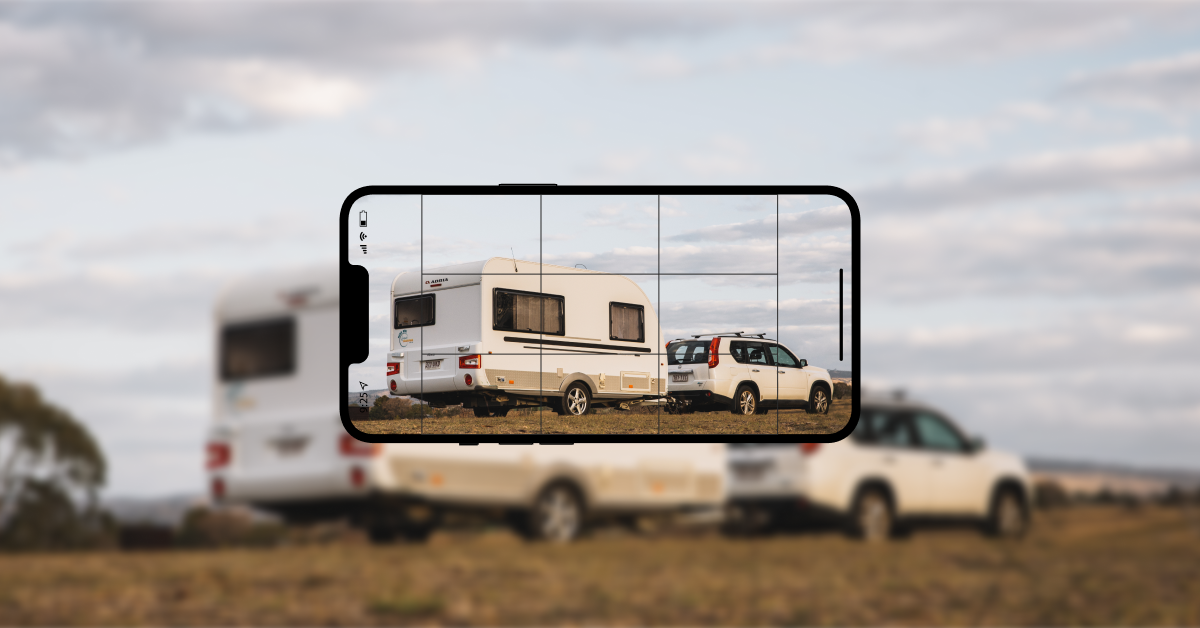
VARIETY MATTERS
You can help hirers imagine themselves in your space by showing a variety of your van's most interesting details. Do this by having a mix of compositions for each shot.
Alternate between wide, mid-range and close-up photos, some horizontal and some vertical.
Here’s a quick overview of when to use each composition type:
- Wide photos are great establishing images, helping people understand the size of your van and if it is suitable for their needs. Best used for exterior images and of your entire set-up.
- Mid-range images will be your interior and exterior shots. Use these to give potential hirers a good overview of the space in your van.
- Close-up photos are for feature shots such as BBQ’s, fold-out tables, TV/entertainment units, bedding, outdoor furniture etc.
TIP: If there are folding/sliding parts eg. sofa/beds or cookers, then photograph both positions or someone opening them.
5. Things to consider
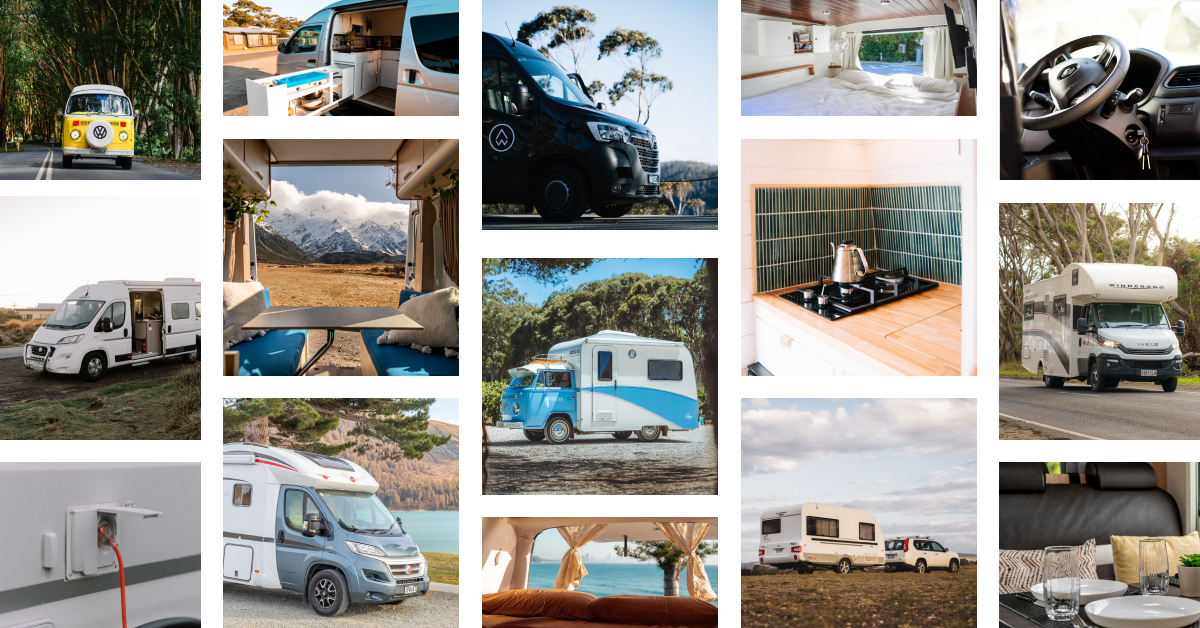
BE SNAP HAPPY
You’ve found a nice spot, your van is looking great and it's a beautiful sunny day - make the most of it and shoot as many photos as possible, you don’t have to use them all.
MAKE IT AUTHENTIC
Where possible, use people in your shots. It helps potential hirers visualise their adventure.
Ask previous hirers if they have any photos from their time in your van and if they mind you using them. Images of real people having real adventures are the best advertising you can get.
It is important to be honest and provide an accurate representation of your vehicle. Uploading misleading images or images that are not the listed RV or accessories that are not included is a breach of Camplify’s terms.
RECOMMENDED CHECKLIST
To help you get started on your photo shoot, we’ve created a list of recommended photos and angles.

Once you have captured your new photos come back and see our tips on how to edit and update your listing with our Editing Guide here.